Welcome to your first lesson in this series on Linux. If you are using Linux already, please feel free to move on to the next lesson. In this lesson, you will learn how to setup your Microsoft Windows operating system and MacOS, so that you can start using one of the many Linux operating system distributions.
Note: If you are using a M1 Mac, you will need to follow the instructions to install VMware for M1/M2 chip found here: https://www.kali.org/docs/virtualization/install-vmware-silicon-host/
Tools:
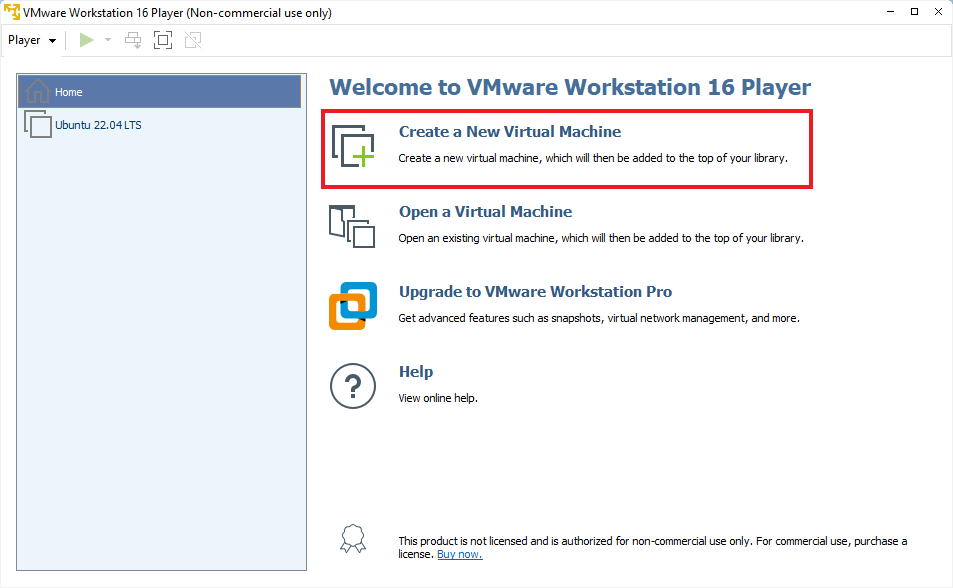
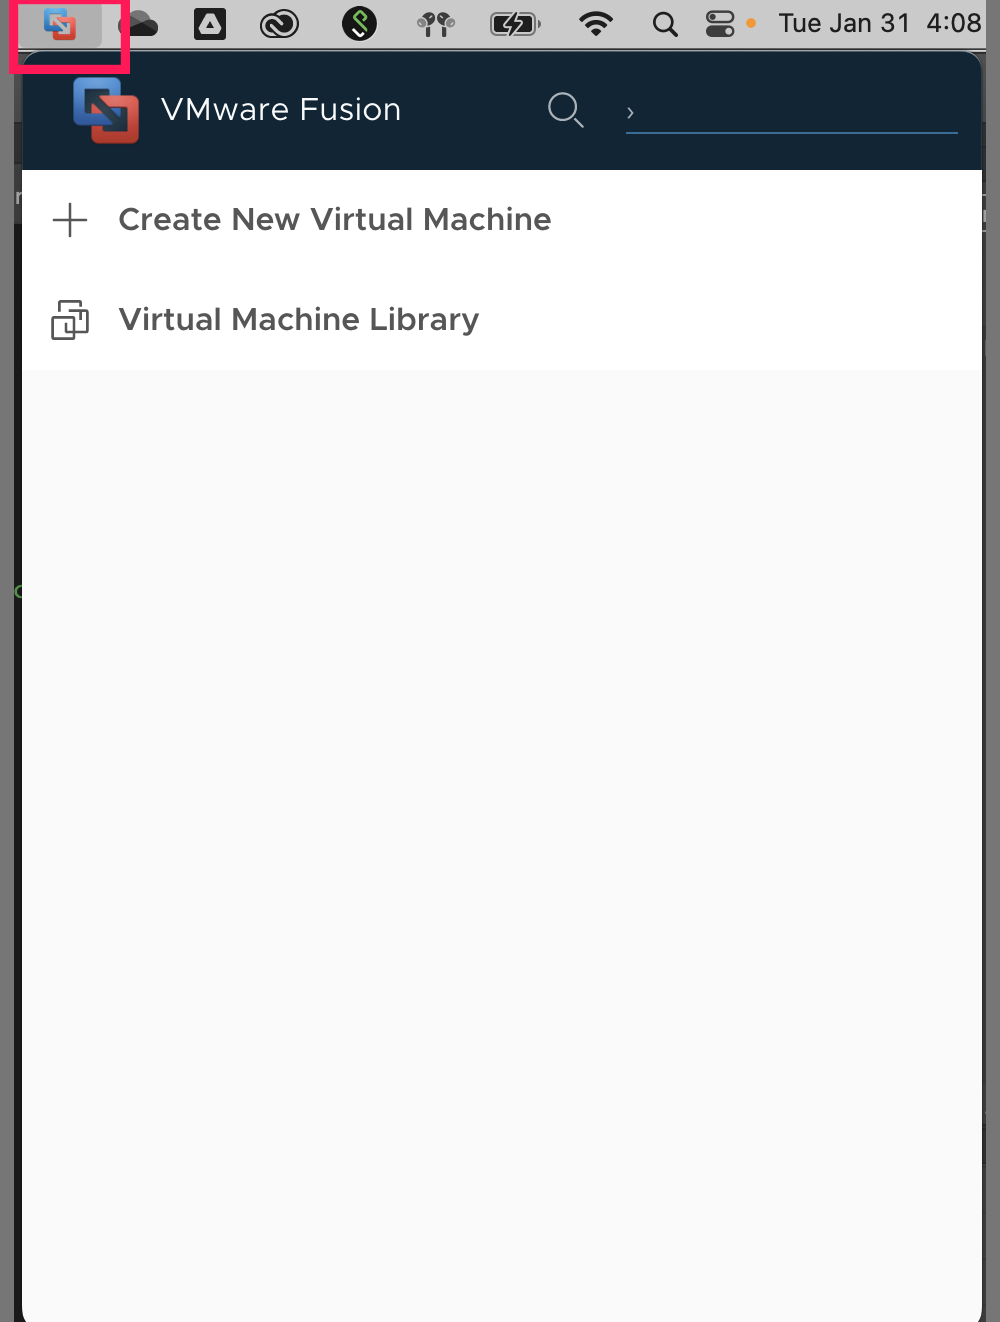
You will be required to download and install VMware’s Workstation Player (Free version) or VMware Workstation Pro (Paid version).
The difference between these two programs is vast. Workstation Pro allows the user to setup virtual networks all within one program.
Where Workstation Player only allows one virtual machine at a time. For this series, Workstation Player is good enough.
Needed Software:
System Requirements:
Note: On Windows you can check your system requirements by going to the Start Menu and typing in “System Information”. You will see a window pop up with a lot of information. Scroll down to the “System Summary” section and you will see the information listed above.
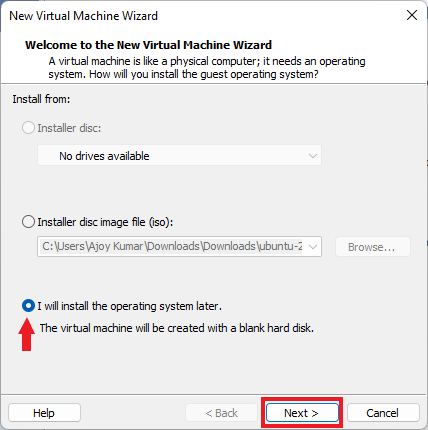
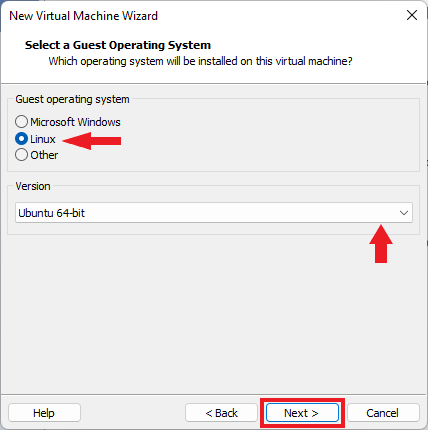
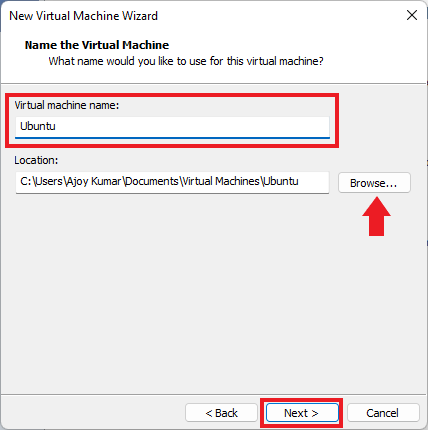
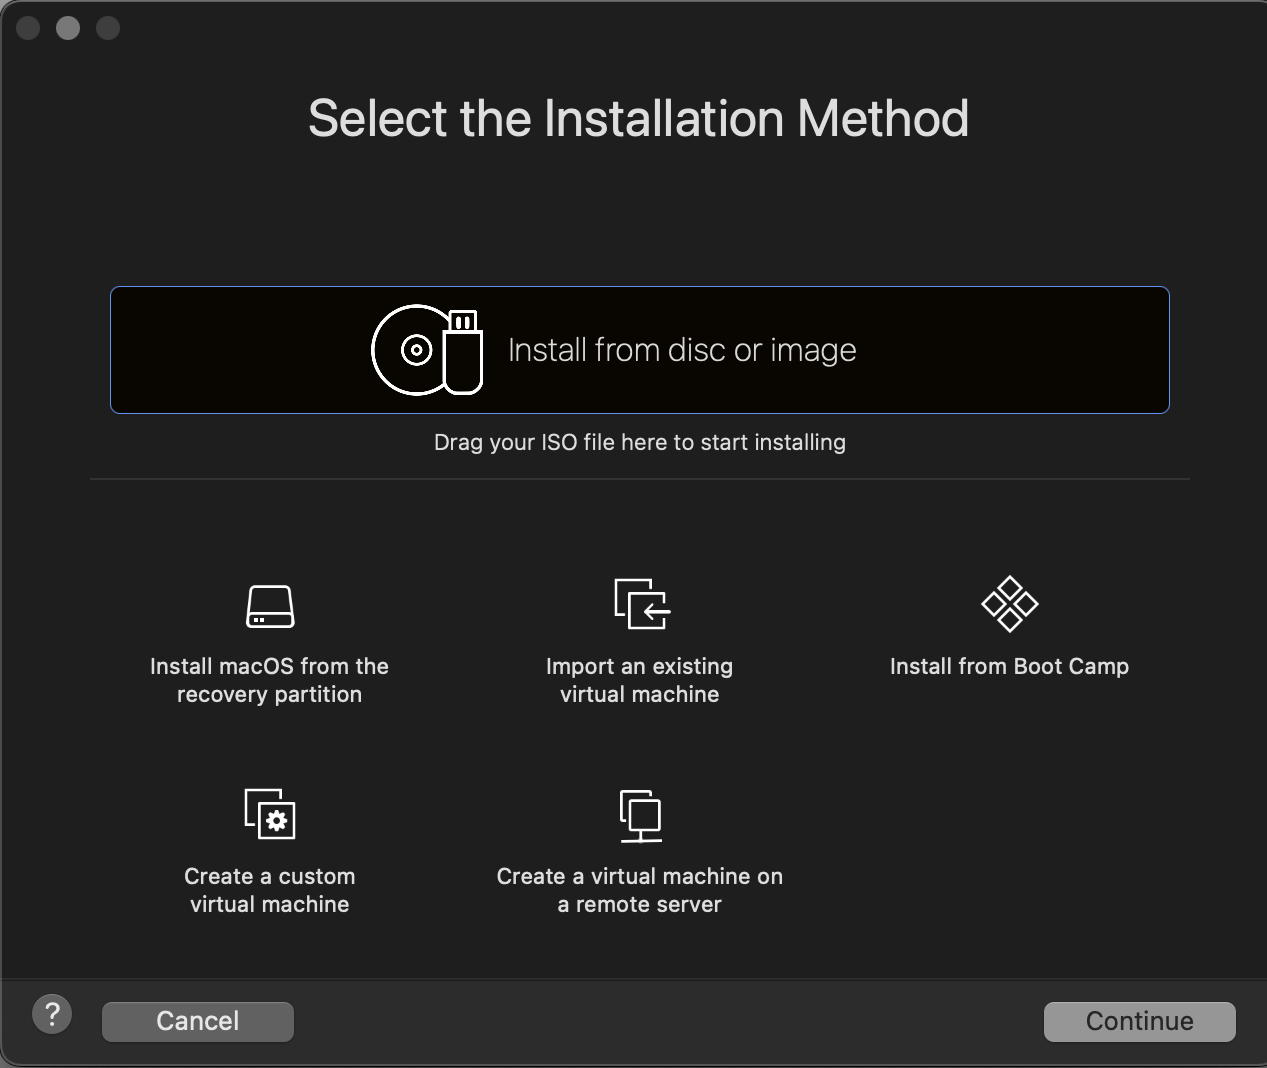
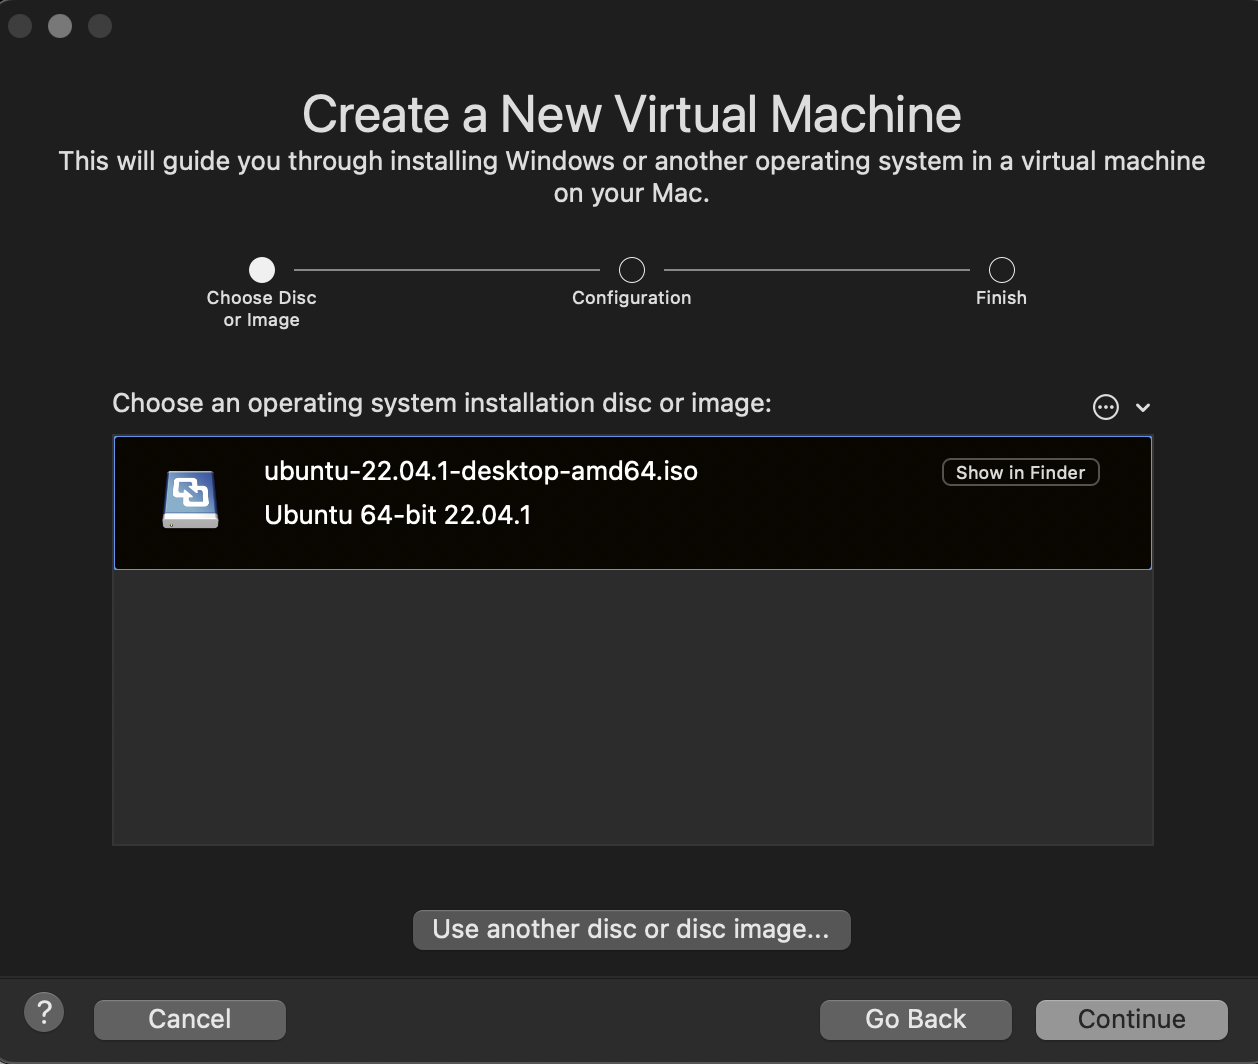
Next, You will need to download the Ubuntu Desktop operating system.
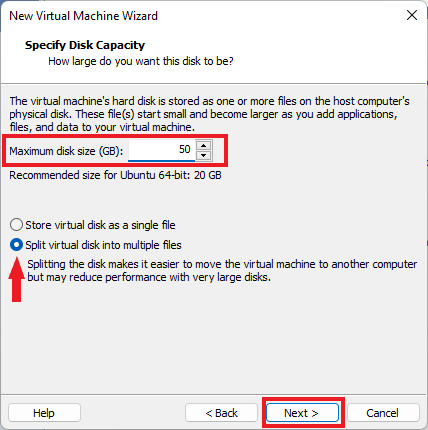
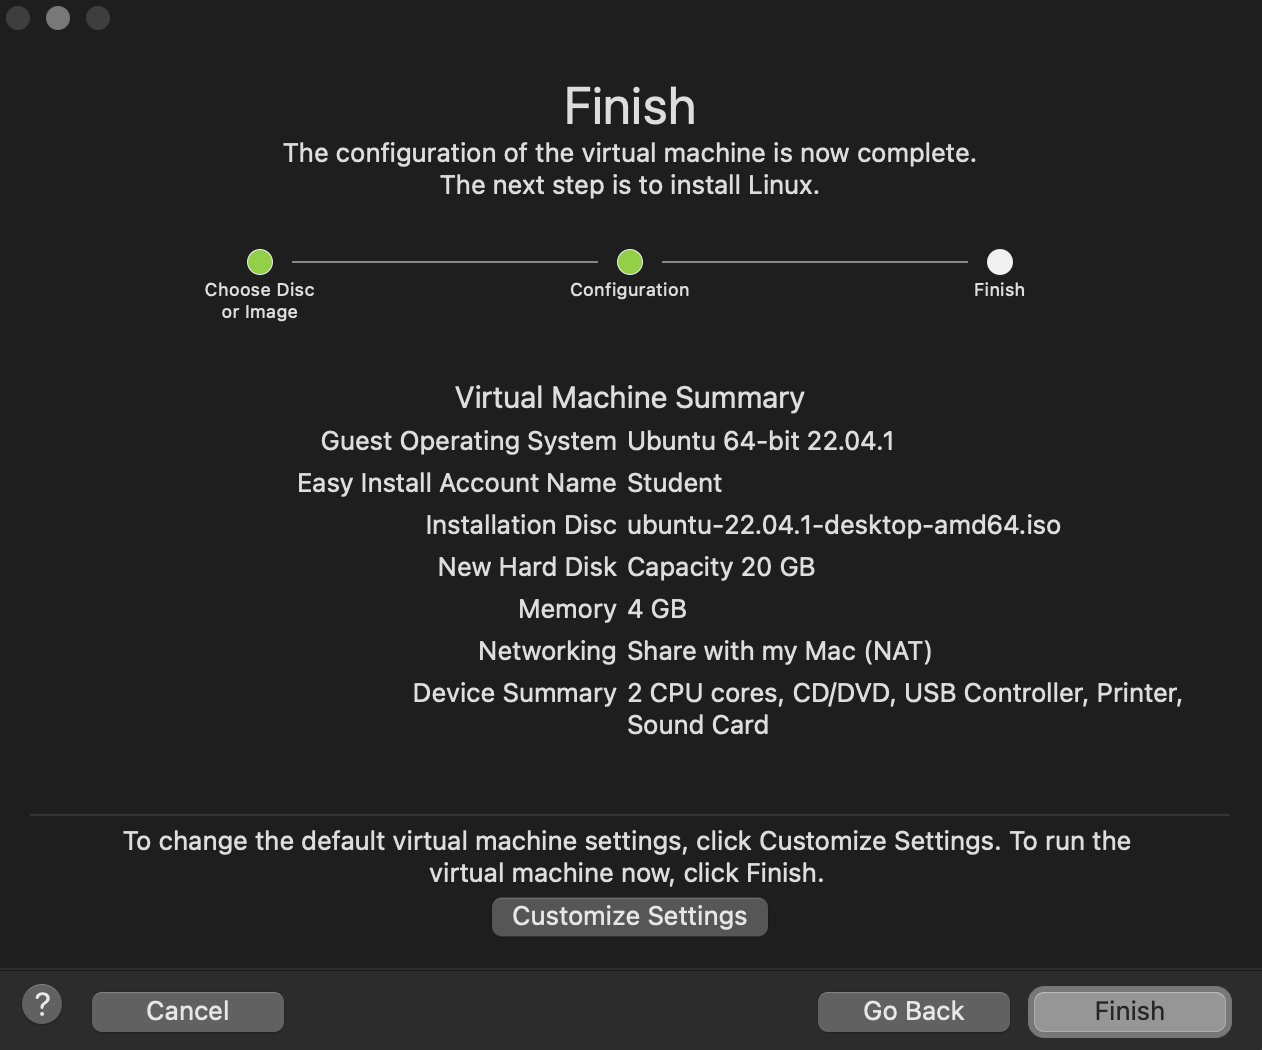
Note: Do not go crazy here. You do not need to select 16GB of RAM. This will only slow down your computer or worse case, crash your computer.
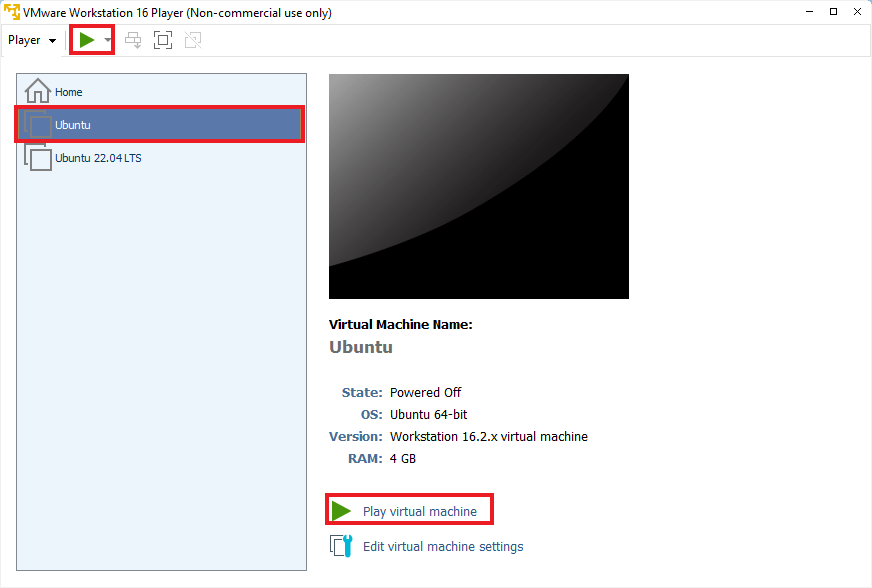
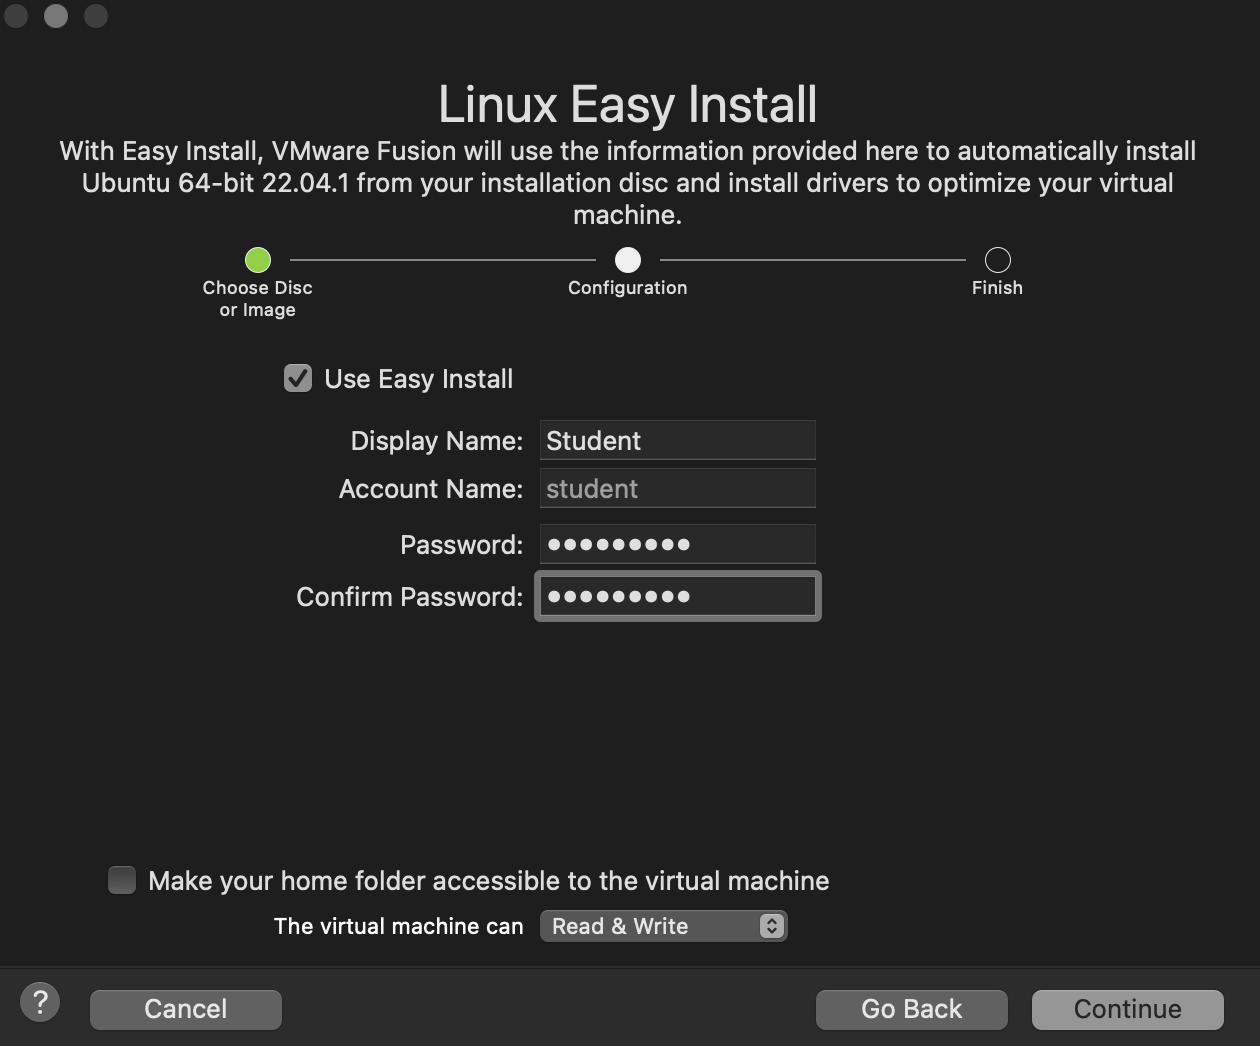
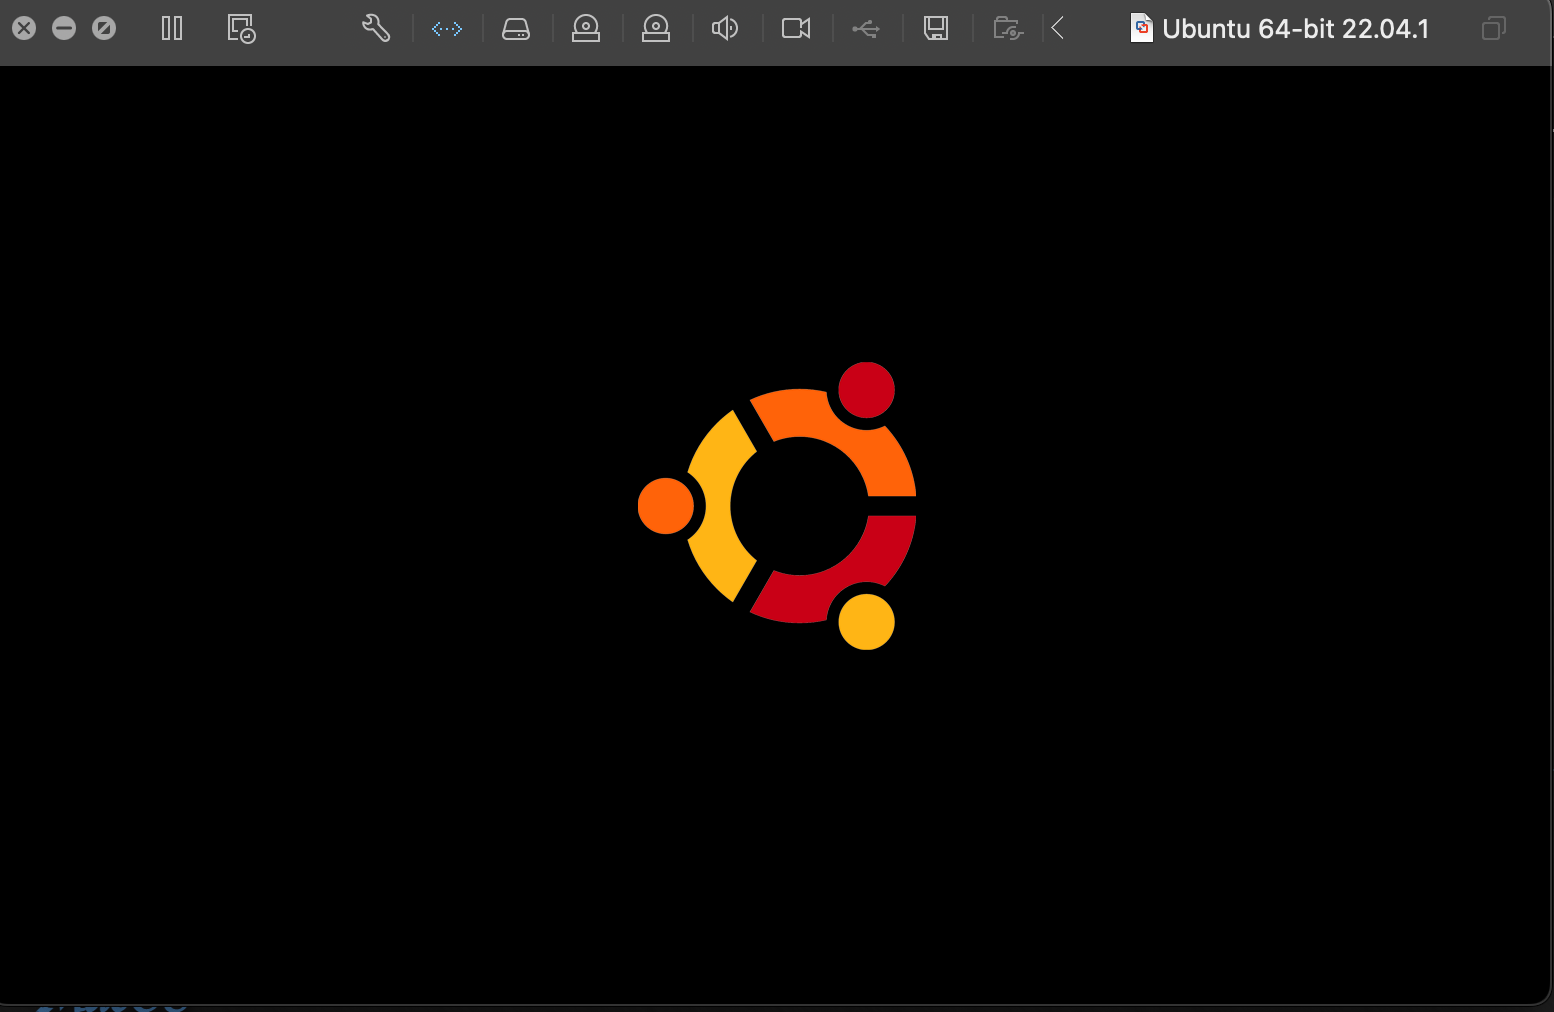
Your Ubuntu operating system is now installed.
Your Ubuntu operating system is now installed.